Samsung's range of Smart View covers are a popular accessory for the Samsung Galaxy range of phones.
I recently purchased a S-View Wallet case and it turned out to be non-genuine. While the cover looked almost identical, it requires sideloading third party app SmartWindow which also requires broad permissions.
Google Play store version weirdly does not support the device the cover is for.
Without the app the screen doesn't react to the cover closing/opening, and installing untrusted apps to gain the functionality is extremely risky.
Having read a few post online, most hinting at the use of magnets/hall effect sensors, NFC/RFID chip, but nothing conclusive or instructive how to fix.
Intrigued to understand how these cases differ and why the app is need, I decided to breakdown my current, well worn case. I also wanted to see if the new case could be made to work the same way.
How are these covers different?
This blog post is specifically about the Samsung Galaxy S23 Plus (SM-S916B) and each model will differ, but the same principals will apply.
Wireless ID chip. Its purpose is to identify the case, but also prevent aftermarket clones of the case.
Magnets and hall effect sensor shielding in the form a small metal plate.
Arguably the cover really only needs the single magnet to detect the cover open/close and the shield.
However the the use of second magnet ensures the cover will only be detected/activated if the cover is fitted. It's not possible to re-orient the phone.
Through experimentation the chip presence detection is only every ~30s. It's possible to remove the cover and then pass a magnet over the bottom left of the screen to get it think the case is closed and show just the clock.
Breakdown
Prior to physical breaking down, I used a small fridge magnet over the case to provide a guide to the location of any magnets.
EF-ZS916
Removed card flap
Front Magnet
This magnet is actually just beside the card flap, not under.
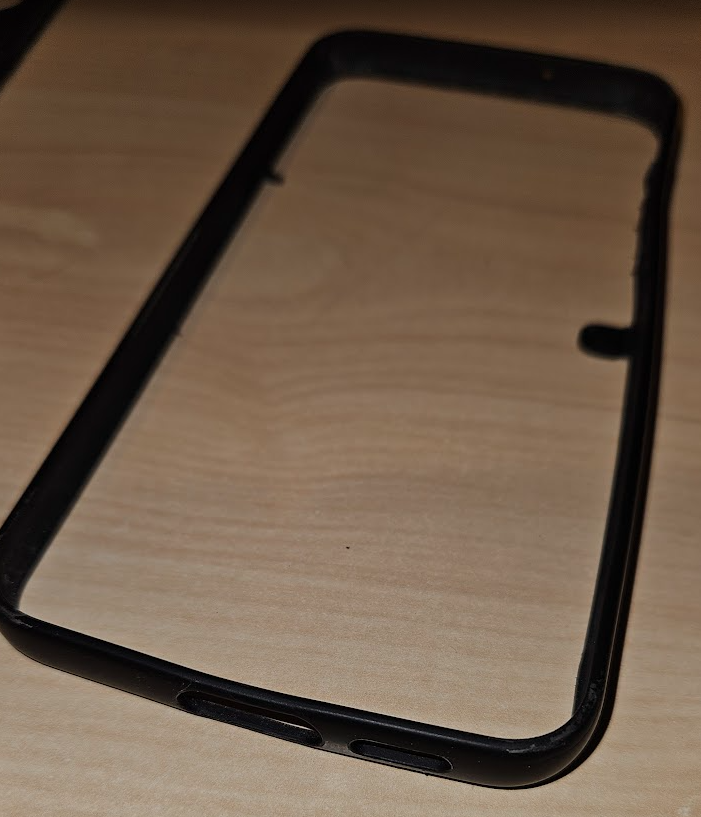
Remove the bumper. This allows the positioning of the phone in various orientations to locate any ID chip.
Remove the material lining. Start from the bottom right.
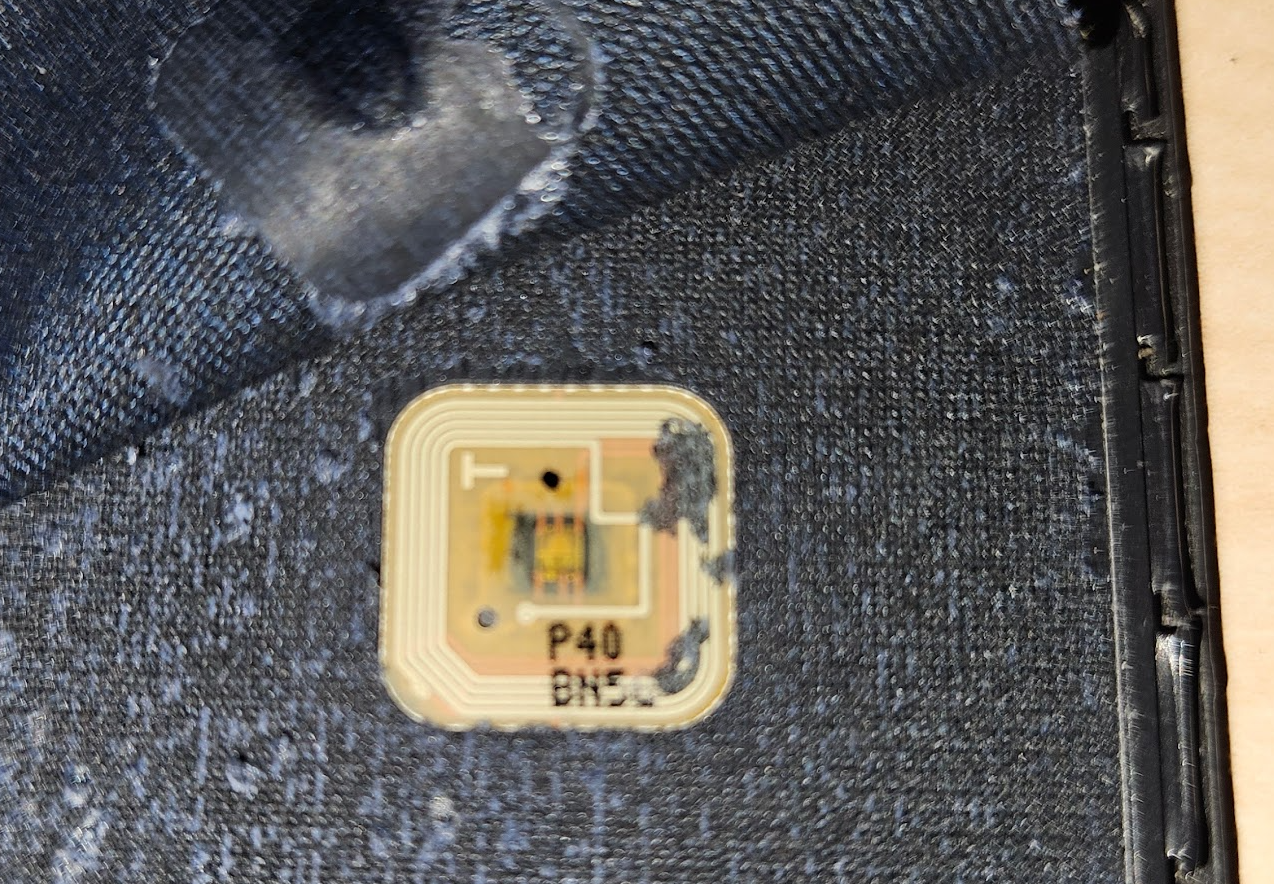
Once the material liner is removed, you can see ID chip another magnet and the shield. The shield protects the hall effect sensor from triggering from a magnet on the rear.
Getting the aftermarket cover working.
Next challenge was to see if the magnets and chip could be transplanted.
The small magnet and shield can be removed with a utility knife.
Shield
Small magnet
The chip needs more care, but can be carefully pried.
My approach was to cut away a bit of the plastic along side, so I could be the a utility knife under, without flexing the chip. Care is needed not to damage the coil/antenna.
With the items removed, I've opted to a practical (temp) approach, until I can be sure it works reliably.
Given the thickness of the magnets and ID chip, I avoided cutting into the new case for now.
I've affixed the small magnet and the ID Chip with tape to the back of the phone. The shields remaining adhesive was sufficient to hold it in place, within the cover. The open/close magnet I have used a small amount of cloth tap.
Education editions of Google Workspace include a less know feature that allows staff and students to migrate their email, calendar, contacts and Docs/Drive data to another Google identity.
The destination identity can be a regular Google consumer account or a Workspace account. The latter has some caveats.
The target account must have;
The Core Services (Apps) enabled for for the incoming data. i.e. Google Drive must be enabled for Google Docs to be migrated
Additional Service enabled for for the incoming data.
Additional Service without individual control enabled for for the incoming data*.
Been Marked as 18year old older, either via OU or by group
*Additional Service without individual control is only applicable for accounts marked 18 years and older with Aged based access. See: https://support.google.com/a/answer/7646040
For Google Workspace for Education editions only: users under the age of 18 are restricted from using these services with their Google Workspace for Education accounts, even when this setting is On. For details, go to Control access to Google services by age. If one of these services later gets an ON/OFF control in the Admin console, it is set to Off for primary and secondary institutions.
Where a user tries to initiate the Graduated Takeout process, to migrate to a Workspace account, the Target (destination) account must me marked 18 or older, as Graduated Takeout will not operate without Additional Service without individual control.
Failure to mark the account as 18 or older will result in the non descript error Something went wrong. Try again.
Google Support are aware of the issue and reportedly working on a fix.Issue has been observed on both Windows 10 and 11 with the latest GWSMO release (v4.3.73.0).
It's been reported but not confirmed by Google, that the latest update of GWSMO uses a new Contacts API. GWSMO users have observed that disabling the contact sync, resolves the crashing. It's unclear if the unhandled exception (crash) resides in GWSMO or Outlook.
There's 2 options to work around the crashing issue. These are temp workarounds until the official fix from Google arrives.
We all know how dependent daily life relies on internet connections and how frustrations quickly mount when it fails. For years Cisco IOS versatility has offered various solutions to this problem via IP SLA and Track features to detect failures and reroute traffic via alternative interfaces.
While this solution works reliably, there are some draw backs, particularly where NAT is employed, due to stale translations mapped to failed interfaces. Inconveniently not all failures result in interfaces being down.
So what?
Stale NAT translation persisting after fail-over result in extended interruption, until they timeout. Non-DNS UDP translations time out after 5 minutes; DNS times out in 1 minute. TCP translations time out after 24 hours, unless a RST or FIN is seen on the stream, in which case it times out in 1 minute.
The common solution
The common solution is the use Cisco IOS Embedded Event Manager (EEM) the automate the clear ip nat translation * command following a fail-over. This sledgehammer approach has drawbacks. Clearing all translations effectively resets all NAT sessions on all interfaces, not just the failed interface. Compounding the issue, is no TCP RST or FIN is sent when the translation is cleared, leading to packets being silently dropped, until the client times out and re-initiates the connection.
Sadly IOS lacks a command to clear NAT translations per interface, but it does provide a command to clear individual translations... Not exactly useful when you have thousands of translations.
Before we get into the specifics, I suggest familiarizing yourself with the standard Dual ISP setup under Cisco IOS. You'll find plenty of examples online, explaining how to configure a Cisco ISR with multiple ISP connections, employing route maps and leveraging the IP SLA and Track features of IOS to detect failures and reroute traffic.
Once such example can be found here
The challenge - Clearing NAT translations per interface.
One of the less known and used features of Cisco IOS is TCL scripting. The below script can be used to selectively clear ip NAT translation per interface, and triggered via EEM in the same manner.
Clearing only the NAT translations on failed interfaces will ensure the smoothest fail-over and avoid unnecessary interruptions, particularly where successive failures occur in close succession.
This method will only clear the translations of an interface that has failed SLA.
Part 1 - The TCL Script
Copy this script to bootflash: or another suitable location.
If you want to verify the operation of the script, you can manually invoke from the enable (#) prompt using; tclsh bootflash:clearnat.tcl <interface>
tclsh bootflash:clearnat.tcl dialer0
The script is basic.
Parses the output of show ip interface to grab the IP
Matching the interface provided in the argument it finds an IPv4 address it continues
Parse the output of show ip nat translations
For each translation, it checks for a match IP the interface
If a match is found, it executes the command clear ip nat translation with the translation parameters.
#!/usr/bin/env tclsh
proc clear_nat_translations {interface} {
set interface_details [exec "show ip interface $interface"]
regexp {Internet address is ([0-9]+\.[0-9]+\.[0-9]+\.[0-9]+)} $interface_details -> interface_ipv4
if {[llength interface_ipv4] == 0} {
puts ""
puts "No IPv4 found for $interface"
return
}
puts "Clearing NAT translations on $interface. IPv4: $interface_ipv4"
set nat_entries [exec "show ip nat translations"]
set nat_lines [split $nat_entries "\n"]
foreach line $nat_lines {
if {[regexp {([0-9]+\.[0-9]+\.[0-9]+\.[0-9]+)} $line inside_global_ip]} {
if {$inside_global_ip == $interface_ipv4} {
regexp {(tcp|udp)} $line protocol
regexp {:(\d+)} [lindex $line 1] -> inside_global_port
regexp {([0-9]+\.[0-9]+\.[0-9]+\.[0-9]+)} [lindex $line 2] inside_local_ip
regexp {:(\d+)} [lindex $line 2] -> inside_local_port
regexp {([0-9]+\.[0-9]+\.[0-9]+\.[0-9]+)} [lindex $line 3] outside_local_ip
regexp {:(\d+)} [lindex $line 3] -> outside_local_port
regexp {([0-9]+\.[0-9]+\.[0-9]+\.[0-9]+)} [lindex $line 4] outside_global_ip
regexp {:(\d+)} [lindex $line 4] -> outside_global_port
puts "clear ip nat translation $protocol inside $inside_global_ip $inside_global_port $inside_local_ip $inside_local_port outside $outside_local_ip $outside_local_port $outside_global_ip $outside_global_port"
exec "clear ip nat translation $protocol inside $inside_global_ip $inside_global_port $inside_local_ip $inside_local_port outside $outside_local_ip $outside_local_port $outside_global_ip $outside_global_port"
}
}
}
}
set argc [llength $argv]
if {$argc == 0} {
puts ""
puts "no command line argument passed"
return
}
set target_interface [lindex $argv 0]
clear_nat_translations $target_interface